Creating Hackintosh Success' href='/2020/12/install-macos-catalina-on-supported-pc.html'>Catalina Bootable USB from Mac.
Follow this step if you are setting up Niresh on a Mac or existing Hackintosh. Plug your USB drive into Mac, and open Disk Utility (located in Applications->Utilities in your main hard drive). Select your USB drive in the sidebar of Disk Utility and erase the drive, with the “Format” set to “Mac OS Extended (Journaled)” format. You can rename the drive any way you want.
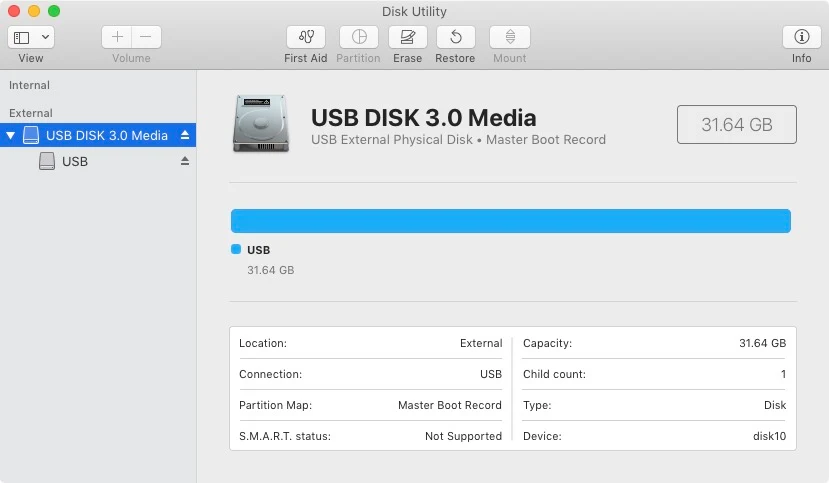
Select the main USB Device, “USB DISK 3.0 Media” as in the example above.

Erase USB as “Mac OS Extended (Journaled) format” & as “GUID Partition Map” Scheme.
Next, make sure that your Niresh Success' href='/2020/12/install-macos-catalina-on-supported-pc.html'>Catalina disk image file is in the same folder as “Restore Niresh Success' href='/2020/12/install-macos-catalina-on-supported-pc.html'>Catalina.pkg”. If “Restore Niresh Success' href='/2020/12/install-macos-catalina-on-supported-pc.html'>Catalina.pkg” is still in a ZIP file, double-click that file to unzip it.
Double click on “Restore Niresh Success' href='/2020/12/install-macos-catalina-on-supported-pc.html'>Catalina.pkg” to start the app. By default, the app will be aimed at your computer’s main hard drive (mine is named “Mac” in the picture above). You do not want this– instead, click through the installer until you reach the page with the “Change Install Location” button.

From here, change the install location of the app to your USB drive (mine is named “Success' href='/2020/12/install-macos-catalina-on-supported-pc.html'>Catalina Installer” in the picture below).

Press the enter / return key. The app will ask for your system password. After you enter your password, it will begin writing the Niresh Success' href='/2020/12/install-macos-catalina-on-supported-pc.html'>Catalina disk image onto the USB drive.