
Guide for Installing Lion on HP Probook Laptops-Version 3. Includes the 4230s, 4330s, 4430s, 4530s, and 4730s.
Note: Please make sure to read the update sections, at the bottom of post one and top of post two in order to have the best system possible.
Also, please make sure not to discuss any pirated methods here (or anywhere on the forum). I guarantee if they are posted here they will be seen, and YOU WILL BE BANNED.
Please do NOT PM me with basic questions. Ask them here. They don't get answered immediately if they are something that should be asked here. I will check here as well, and it helps everyone to post here, so everyone can see the answer.
Base Install:
As of now, I currently have the following working:
Core i3 CPU 2310m- working fine, vanilla 64 bit kernel (Core i5 and i7s work as well)
Intel HD3000- Full QE/CI (the trick being having SMBIOS set as a MacbookPro8,1)
Atheros 9285- Fully working
4 Gigs of RAM- fully working
Audio- works with AppleHDA!
Trackpad and keyboard- fully working with basic gestures
DVD drive- working, both reading and writing- thanks to jimmy sticks for testing burning with it!
Sleep- Works
Bluetooth- works on boot, not after restart or sleep.
Ethernet- Works
HDMI and VGA: Full resolution and HDMI audio
My install method was simple, I used a Lion USB, using unibeast
Stuff you need-
1. Go to the Mac where Install Mac OS X Lion.app is. If it is not in the application folder, then please follow the steps below. If it is in the applications folder, skip to step two.
-Navigate to the Install Mac OS X Lion.app. Right click, and hit show package contents.
-Go to "Contents" then "Shared Support" and mount InstallESD.dmg
2. Insert your flash drive, and open disk utility. Format it as Mac OS X Extended (Journaled) with a MBR partition map. Name it Installer.
3. Exit Disk Utility, and run Unibeast, installing to that flash drive. When installing, select "Mac App Store "Install Mac OS X Lion"" as well as "Laptop Support." Then select your flash drive to install it too. Please note that it acts weird, in that the timer keeps going up. Let it run though, and it should finish.
4. Copy over the latest HP Probook Installer to the flash drive.
5. Now we are moving on to the laptop. If you have the other graphics card other then the hd 3000, disable it in BIOS now. It currently does not work in OS X. If you can't boot for some reason, set all BIOS settings to default, and then try again, again making sure any other graphics cards are disabled.
6. Insert the flash drive in one of the USB ports on the right.
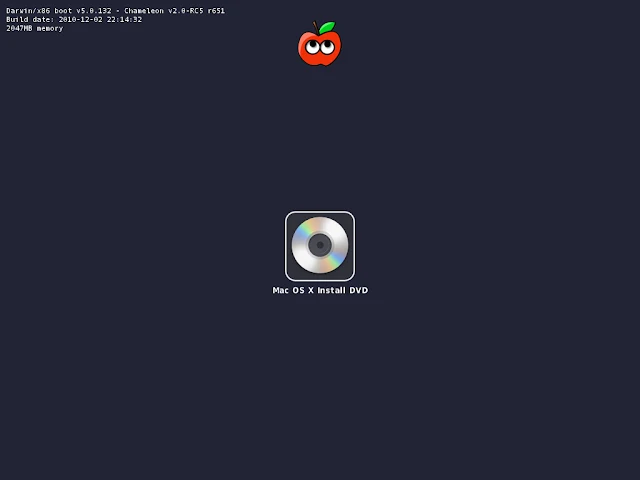
7. Upon boot-up, hit esc, and f9. Then, select usb hard drive. Select the Flash Drive, called Installer, and hit enter. Let it load.
8. Now you should be at the Installer screen. Hit continue to select your language.
9. Along the top, hit Utilities. Then hit Disk Utility.
10. Select your hard drive, and format it in however many partitions you want, with a GUID partition map.
11. Hit (alt) + q to return to the installer after you have finished. Finish the install process like normal, selecting the partition you just made.
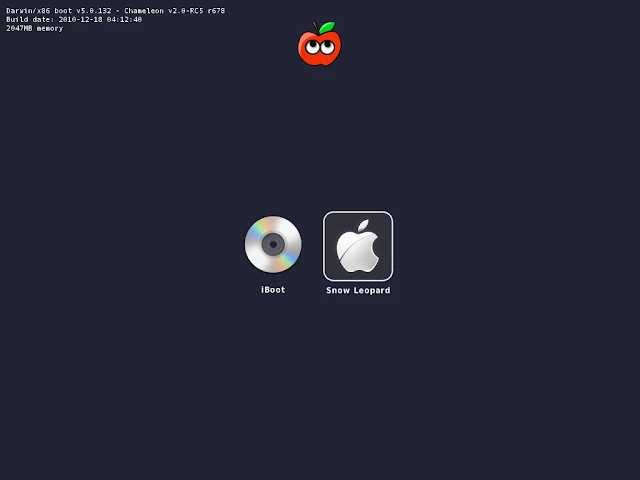
12. After it restarts, you will need to once again hit esc then f9. Then select usb hard drive again. This time, select the partition you just installed Lion on, and hit enter. Make sure you leave the flash drive plugged in.
13. It will now say you need to use a keyboard. Plug it in on the other USB port on the right, and after the stupid prompt goes away, you can unplug it.
14. Finish the setup process like normal. After you get to the desktop, open the flash drive(It's called Installer in finder) and copy the HP Probook installer to your desktop.
15. Run the installer, and select:
-OS X version you are installing
-Ethernet Kext Installer (when this launches, use the release version)
-Chimera
-Under DSDT find your correct BIOS
-i5 or i7 CPU if you have them
16. You should now be able to unplug the USB flash drive and boot from the hard drive.
17. Do so, then, open system preferences, and hit network, and you it will say wifi has been added, and hit apply to activate. Do so, and it will work.
Software Updates:
For simplicity, it is recommended that you use only stand-alone upgrades, one at a time. Note that you need to install Lion, run the HP Probook Installer and make sure everything works. Then you may update. You can try the combo updates, and they should work fine.
I recommend not installing until I have added to the guide to let you know how to do so successfully. However, you are more then welcome to try on your own.
10.7.1-
-Simply download the update from here
-Then, simply run the HP Probook Installer, selecting simply the OS X version you are updating to. Do this after you install the update, but before the reboot.
10.7.2-
-Simply download the update from Delta or Combo
-Then, simply run the HP Probook Installer, selecting simply the OS X version you are updating to. Do this after you install the update, but before the reboot.
10.7.3-
-Simply download the update from Combo (they never released a standalone update)
-Then, simply run the HP Probook Installer, selecting simply the OS X version you are updating to. Do this after you install the update, but before the reboot.
Future updates:
-None out yet, this is a warning. Do not update without me (or you can try another user) giving you the update method. There is the possibility that kexts will be overwritten rendering your machine UNBOOTABLE.
-You will need to make sure that you don't install from software update, as it could kill your machine. You will need to download from the link I provide, and then apply the installer before you reboot.
-Please note that I will be releasing the updated HP Probook Installer within approximately 24 hours at the most after releases. So it is much advised to wait.
Note: Please make sure to read the update sections, at the bottom of post one and top of post two in order to have the best system possible.
Also, please make sure not to discuss any pirated methods here (or anywhere on the forum). I guarantee if they are posted here they will be seen, and YOU WILL BE BANNED.
Please do NOT PM me with basic questions. Ask them here. They don't get answered immediately if they are something that should be asked here. I will check here as well, and it helps everyone to post here, so everyone can see the answer.
Base Install:
As of now, I currently have the following working:
Core i3 CPU 2310m- working fine, vanilla 64 bit kernel (Core i5 and i7s work as well)
Intel HD3000- Full QE/CI (the trick being having SMBIOS set as a MacbookPro8,1)
Atheros 9285- Fully working
4 Gigs of RAM- fully working
Audio- works with AppleHDA!
Trackpad and keyboard- fully working with basic gestures
DVD drive- working, both reading and writing- thanks to jimmy sticks for testing burning with it!
Sleep- Works
Bluetooth- works on boot, not after restart or sleep.
Ethernet- Works
HDMI and VGA: Full resolution and HDMI audio
My install method was simple, I used a Lion USB, using unibeast
Stuff you need-
- A copy of Install Mac OS X Lion.app
- The installer attached to this post
- The latest Unibeast downloadable from here:TonyMacx86 Downloads
- A USB keyboard (if you really can't get one, read notes below for the alternate)
- Access to an OS X install, where the Install Mac OS X Lion.app is. Whether this is Lion or Snow Leopard, or Leopard, hackintosh or mac, it doesn't matter.
- A flash drive that can be formatted, anything over 8 gigs is fine.
1. Go to the Mac where Install Mac OS X Lion.app is. If it is not in the application folder, then please follow the steps below. If it is in the applications folder, skip to step two.
-Navigate to the Install Mac OS X Lion.app. Right click, and hit show package contents.
-Go to "Contents" then "Shared Support" and mount InstallESD.dmg
2. Insert your flash drive, and open disk utility. Format it as Mac OS X Extended (Journaled) with a MBR partition map. Name it Installer.
3. Exit Disk Utility, and run Unibeast, installing to that flash drive. When installing, select "Mac App Store "Install Mac OS X Lion"" as well as "Laptop Support." Then select your flash drive to install it too. Please note that it acts weird, in that the timer keeps going up. Let it run though, and it should finish.
4. Copy over the latest HP Probook Installer to the flash drive.
5. Now we are moving on to the laptop. If you have the other graphics card other then the hd 3000, disable it in BIOS now. It currently does not work in OS X. If you can't boot for some reason, set all BIOS settings to default, and then try again, again making sure any other graphics cards are disabled.
6. Insert the flash drive in one of the USB ports on the right.
7. Upon boot-up, hit esc, and f9. Then, select usb hard drive. Select the Flash Drive, called Installer, and hit enter. Let it load.
8. Now you should be at the Installer screen. Hit continue to select your language.
9. Along the top, hit Utilities. Then hit Disk Utility.
10. Select your hard drive, and format it in however many partitions you want, with a GUID partition map.
11. Hit (alt) + q to return to the installer after you have finished. Finish the install process like normal, selecting the partition you just made.
12. After it restarts, you will need to once again hit esc then f9. Then select usb hard drive again. This time, select the partition you just installed Lion on, and hit enter. Make sure you leave the flash drive plugged in.
13. It will now say you need to use a keyboard. Plug it in on the other USB port on the right, and after the stupid prompt goes away, you can unplug it.
14. Finish the setup process like normal. After you get to the desktop, open the flash drive(It's called Installer in finder) and copy the HP Probook installer to your desktop.
15. Run the installer, and select:
-OS X version you are installing
-Ethernet Kext Installer (when this launches, use the release version)
-Chimera
-Under DSDT find your correct BIOS
-i5 or i7 CPU if you have them
16. You should now be able to unplug the USB flash drive and boot from the hard drive.
17. Do so, then, open system preferences, and hit network, and you it will say wifi has been added, and hit apply to activate. Do so, and it will work.
Software Updates:
For simplicity, it is recommended that you use only stand-alone upgrades, one at a time. Note that you need to install Lion, run the HP Probook Installer and make sure everything works. Then you may update. You can try the combo updates, and they should work fine.
I recommend not installing until I have added to the guide to let you know how to do so successfully. However, you are more then welcome to try on your own.
10.7.1-
-Simply download the update from here
-Then, simply run the HP Probook Installer, selecting simply the OS X version you are updating to. Do this after you install the update, but before the reboot.
10.7.2-
-Simply download the update from Delta or Combo
-Then, simply run the HP Probook Installer, selecting simply the OS X version you are updating to. Do this after you install the update, but before the reboot.
10.7.3-
-Simply download the update from Combo (they never released a standalone update)
-Then, simply run the HP Probook Installer, selecting simply the OS X version you are updating to. Do this after you install the update, but before the reboot.
Future updates:
-None out yet, this is a warning. Do not update without me (or you can try another user) giving you the update method. There is the possibility that kexts will be overwritten rendering your machine UNBOOTABLE.
-You will need to make sure that you don't install from software update, as it could kill your machine. You will need to download from the link I provide, and then apply the installer before you reboot.
-Please note that I will be releasing the updated HP Probook Installer within approximately 24 hours at the most after releases. So it is much advised to wait.
| Attachments: | |||
File comment: Version 3.3.0
|


